I’ve seen the cutest bubble rompers on the internet but couldn’t find a nice one in the store. So I decided I’ll try to sew one myself by merging and adjusting some excisting patterns. I always sew a test version first because I don’t want to ruin my nice fabrics.
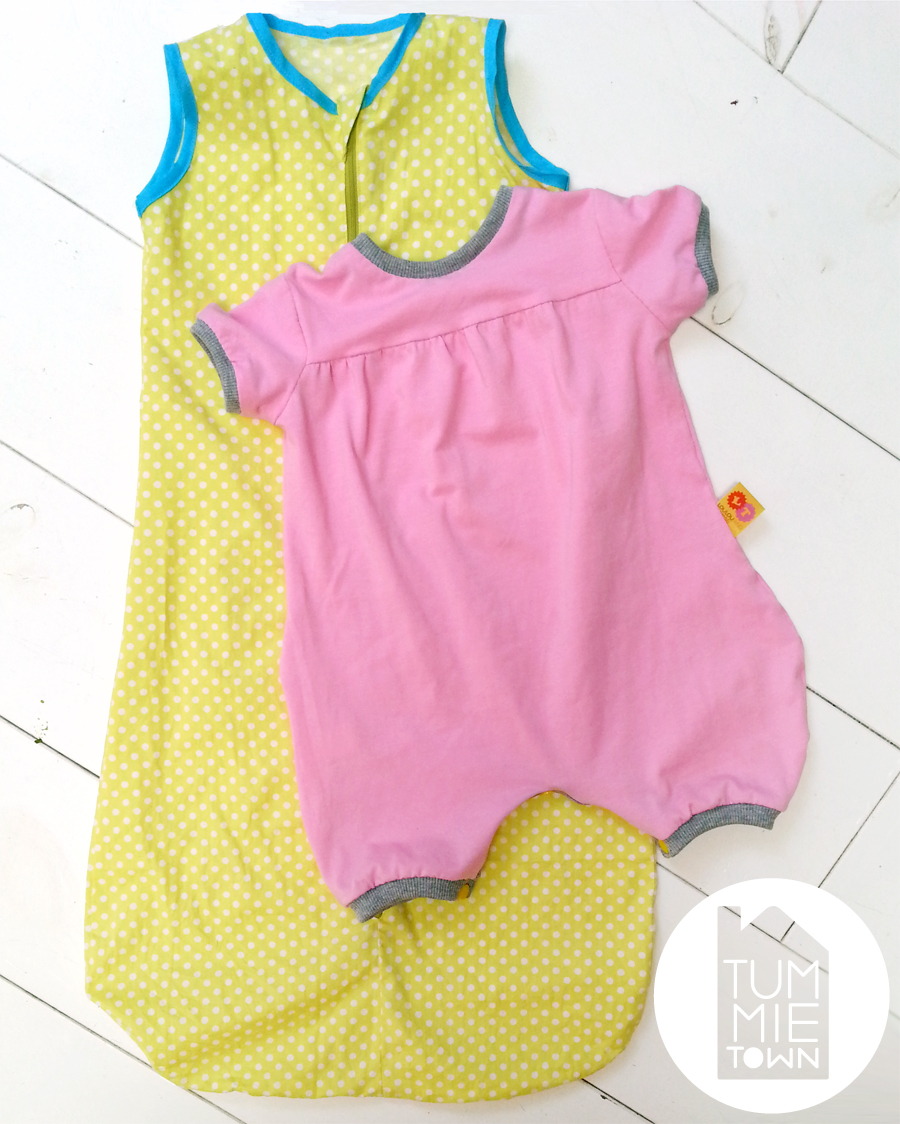
Because I have a lot of pink fabric left from a work related project, this test version is pink… not a big fan of pink. To be honest I’m not very happy with the result. It looks cute but it’s more like a pyjama and I don’t think Koko would wear this when we go outside. It’s just not her style ( read ‘mine’ :P).
The plan was to take pictures of all the steps I made to finish the pattern and romper… but somewhere this plan failed. So I hope It’s still helpfull 🙂
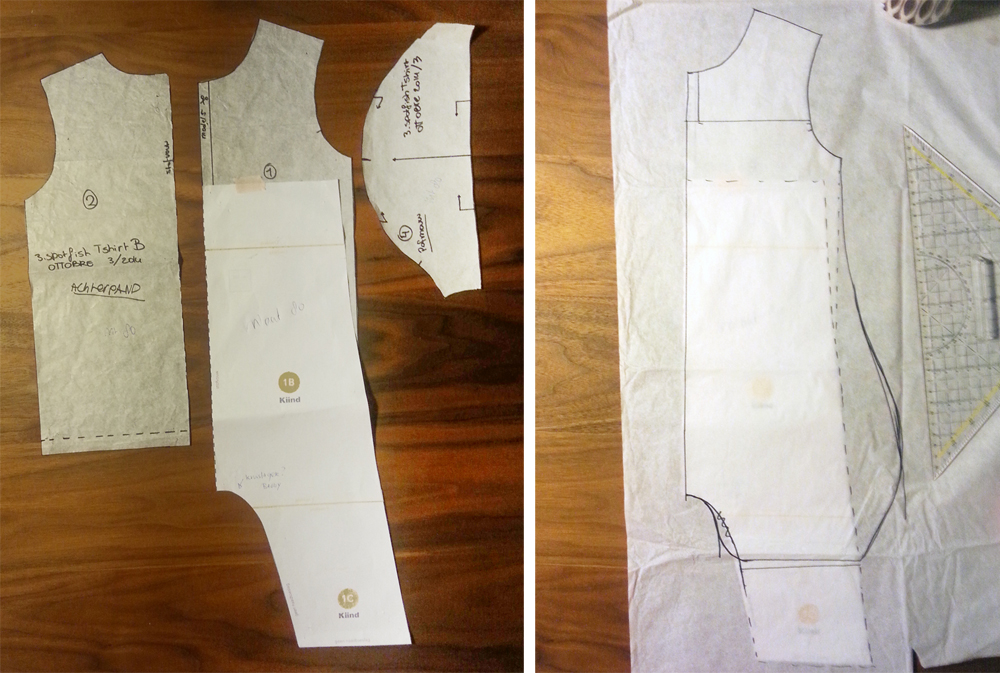 I merged two patterns together. A simple shirt pattern (Ottobre 2014/3) and the jumpsuit pattern from Kiind.
Lay this under tracingpaper and give it the bubble shape.
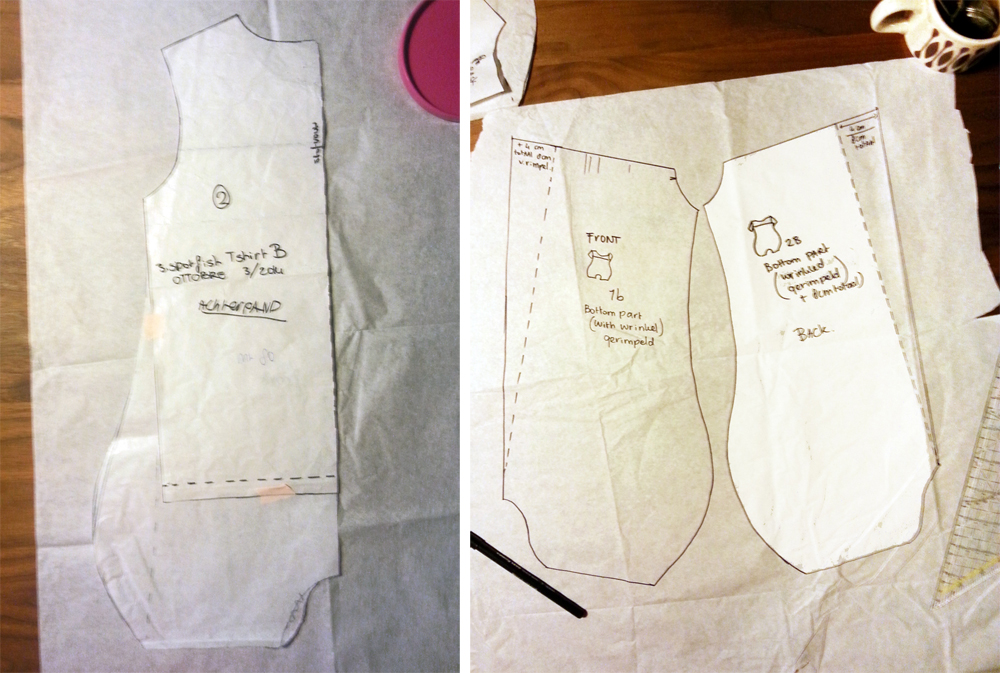 Cut out the new drawn front part and tape this to the back part of the shirt pattern. Trace it to make your back part. I’ve cut the top part of the pattern (you can see a line if you look closer) and put the bottom parts on tracing paper (again) and add some extra cm’s in the middle to get the rimple/bubble effect.
You can also add the extra cm’s right onto your fabric before cutting. But I often forget this and find out after I cut the fabric 
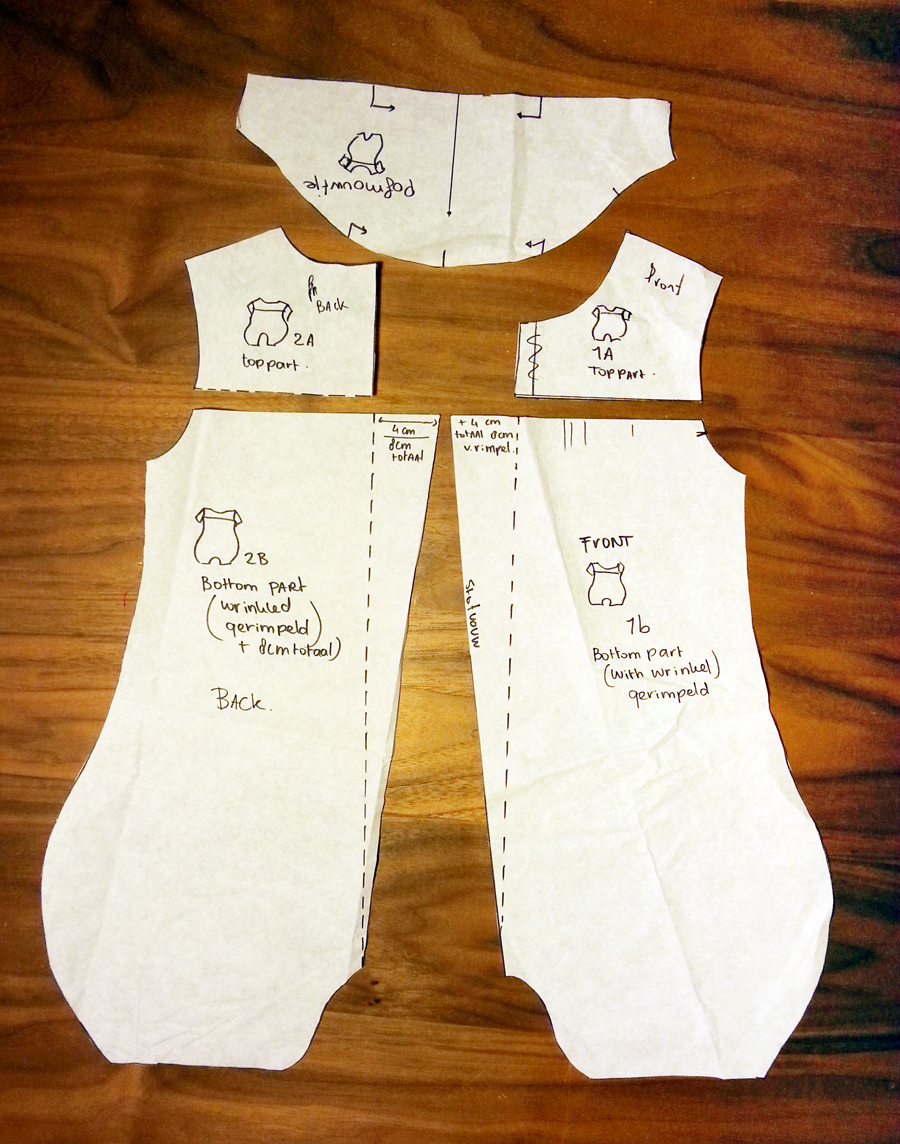 These are all the pattern parts.
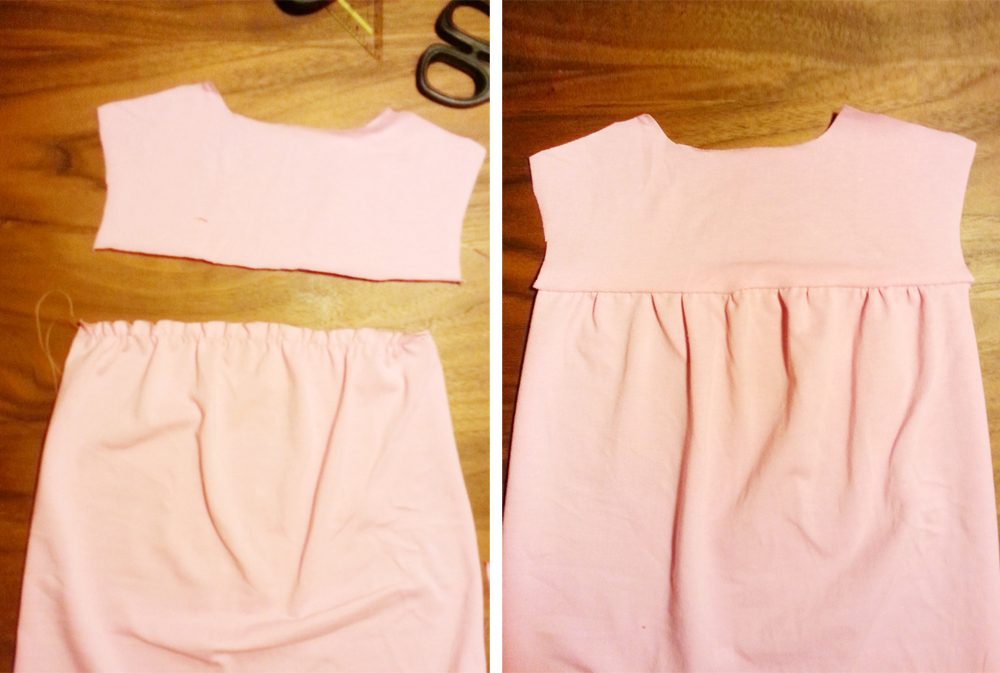 I use a rimple stitch on my sewing machine. But it’s just as easy to do this by hand. Pull one ends of the thread and you have a nice rimple.
… And this is the point where I start forgetting to take pictures and sewed very fast because I wanted to finish the romper before bedtime… Soo tadaa!
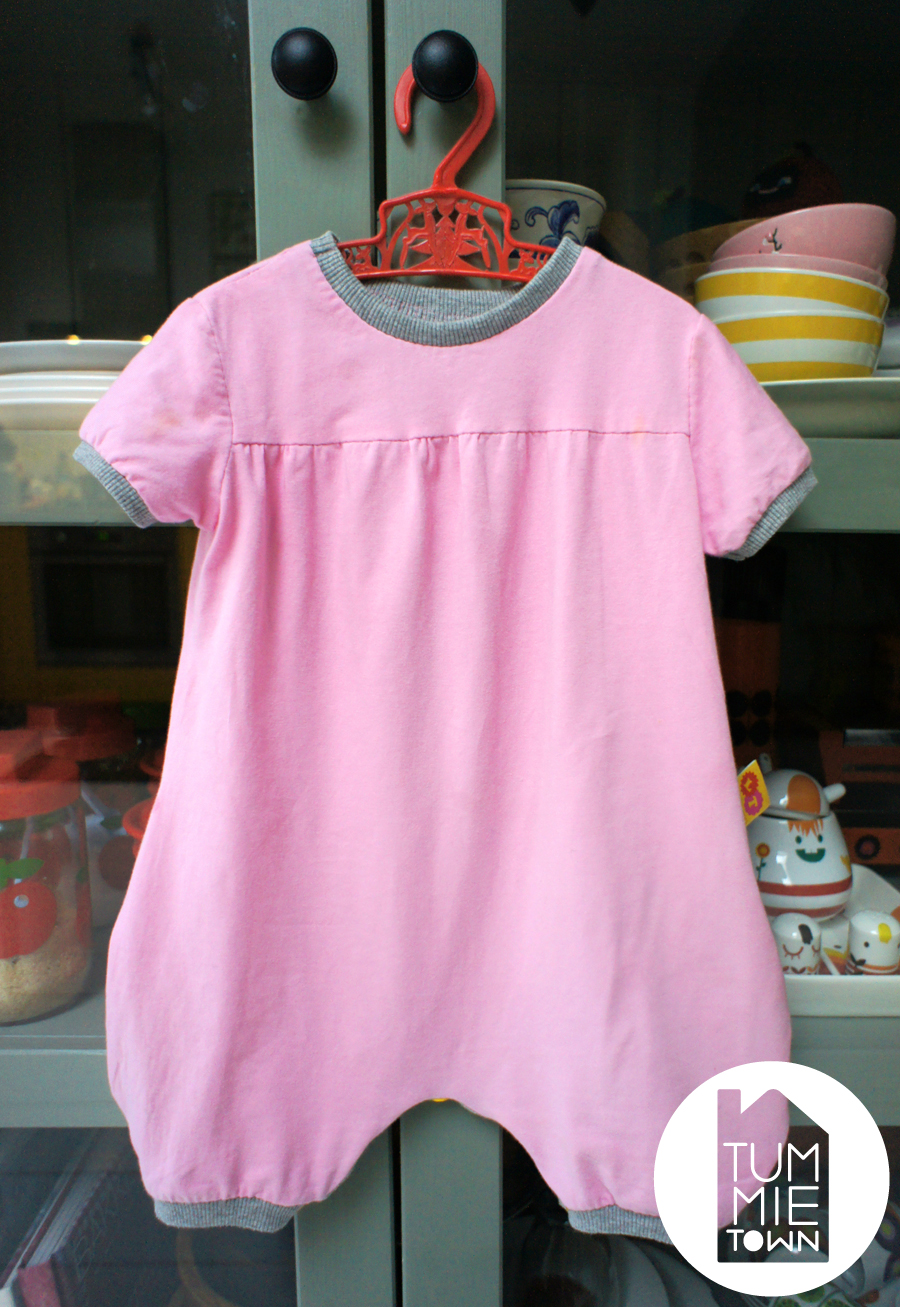
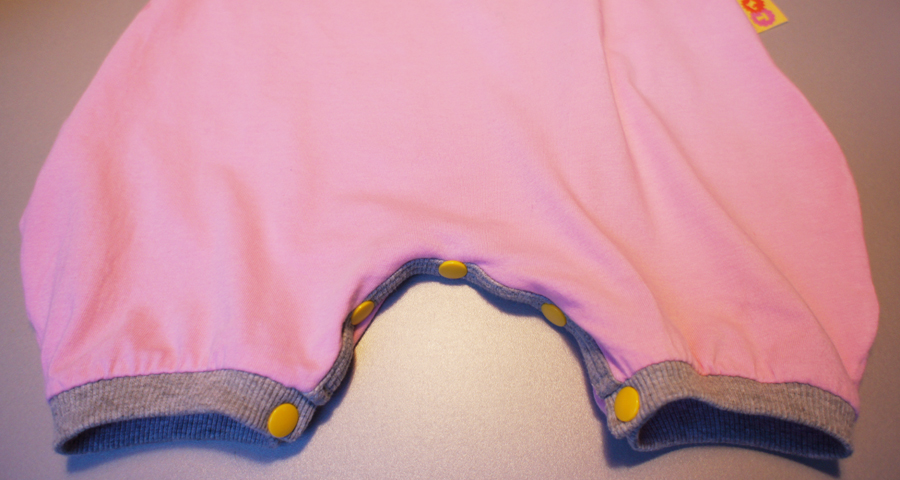
* I have one adjustment for the bubble romper:
– make the bottom parts wider instead of the curved line on the sides. Rimple the bottom parts at the feet and top part. This would give it a better ‘bubble’ effect I think. It works either way it just depends on what you like.
So now she has a very cute pyjama. When I made the bubble romper it was very hot so I decided she also needed a thin summer sleeping bag. I traced one of her sleeping bags, put in a zipper and added bias tape around the neck and arm holes. Very easy! I think I will sew a winter version very soon!
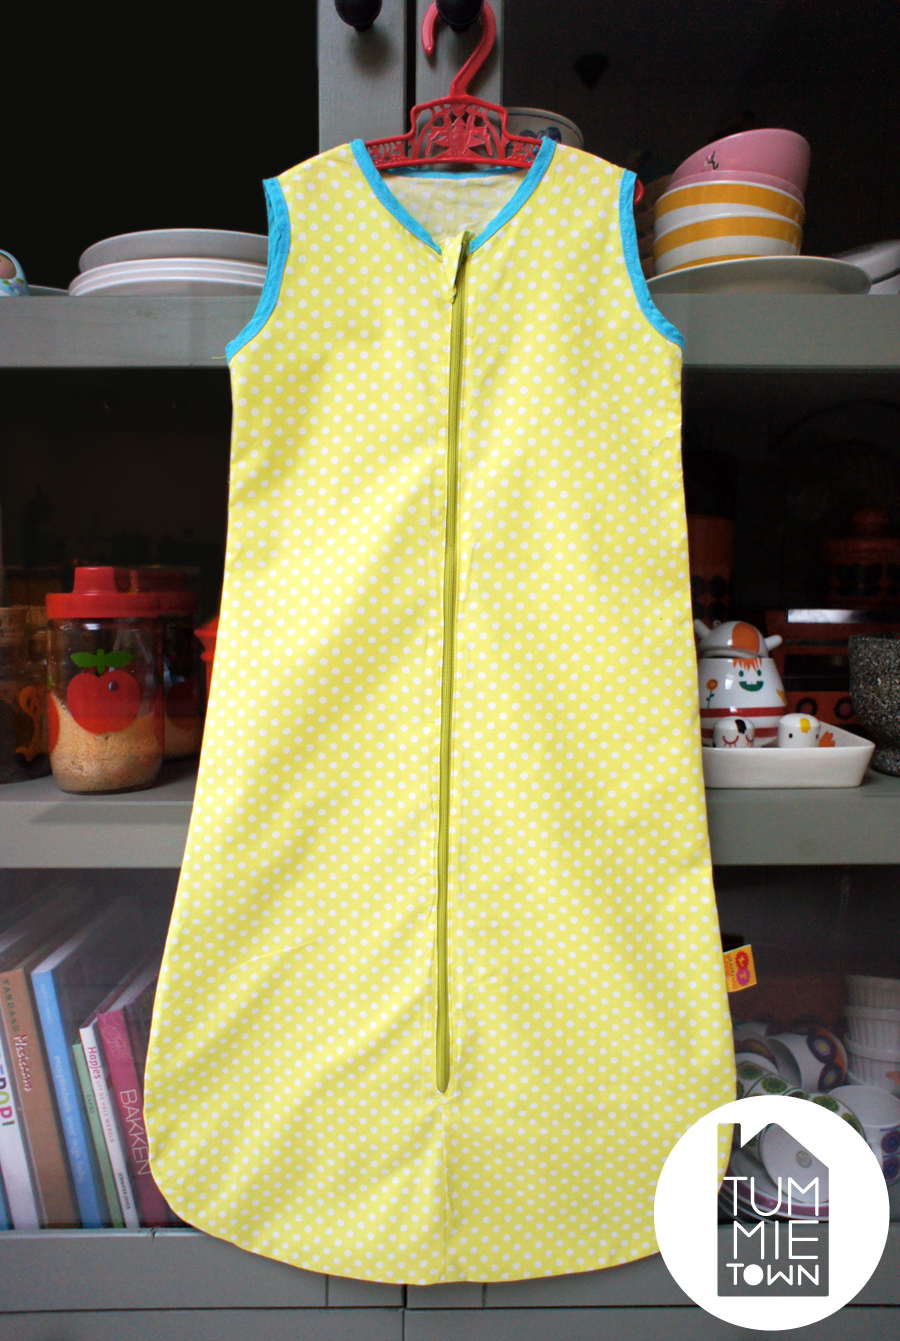
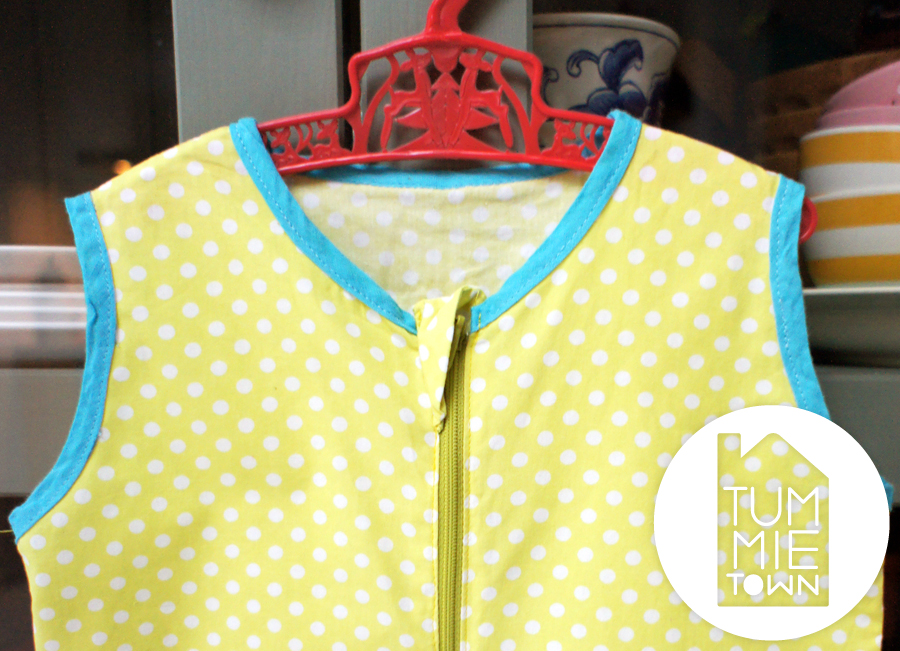
Bye bye!

